Hallo Freunde, ich bin’s wieder! Heute starten wir mal etwas gemütlicher als sonst – um 07:40 Uhr. Zu dieser Zeit gebe ich meinem CL per Crewcall Bescheid, dass ich pünktliche komme, schnappe mir meine PSA, Essen und Trinken und fahre auch schon zur Location.
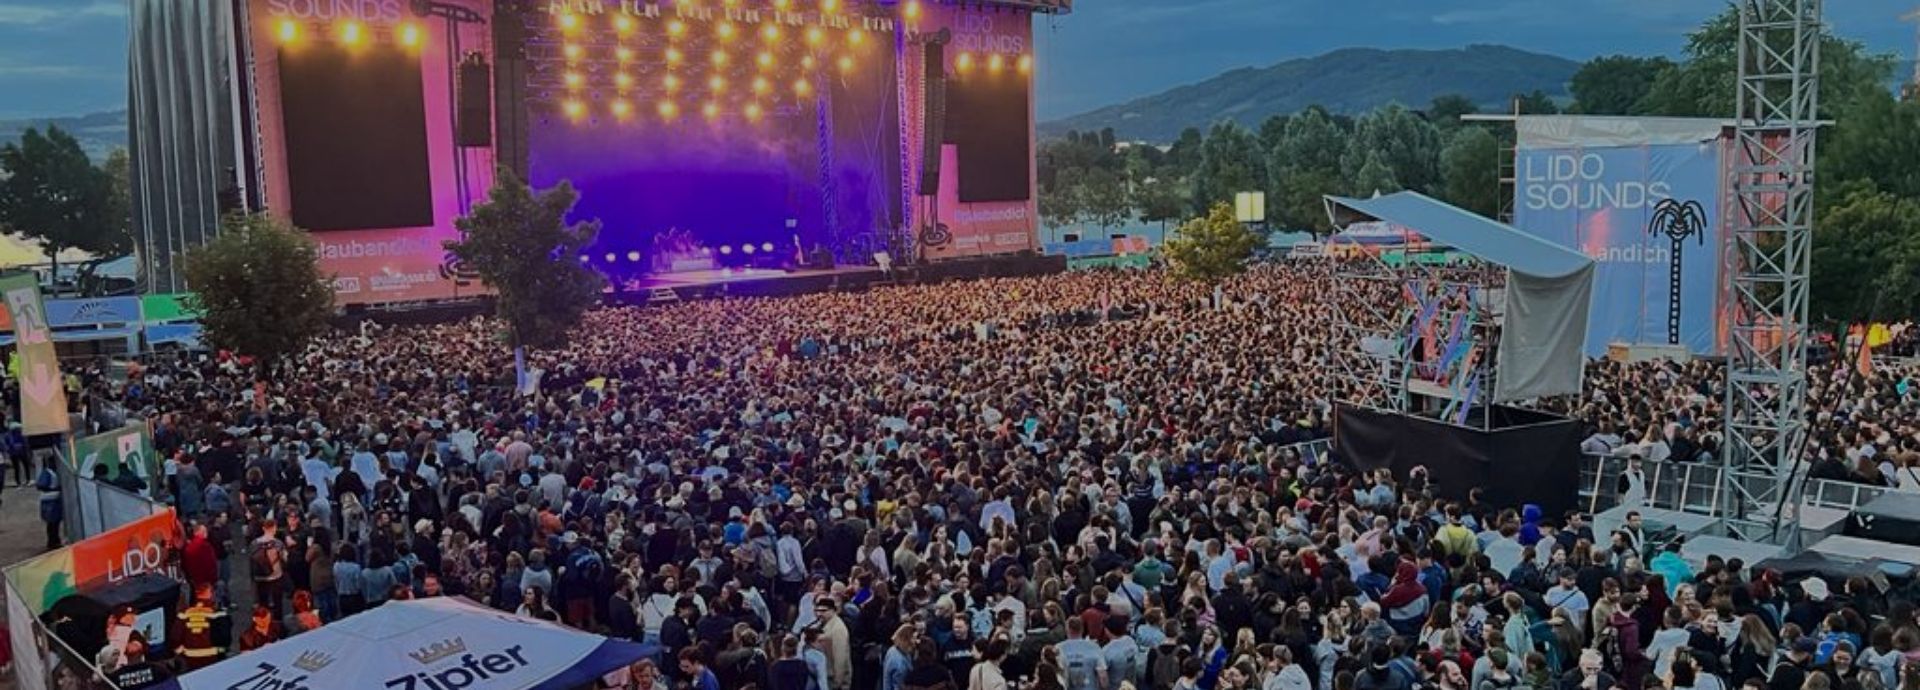
09:00 Uhr: Arbeitsbeginn. Diesmal darf ich beim Ton mitmischen ;) Es handelt sich um eine kleine Bühne mit mehreren Bands. Ich glaube, das wird sehr cool werden. Aja, bevor ich es vergesse, der Tipp des Tages gleich vorweg: XLR wird beim Ton anders verwendet als beim Licht.
Nach einer kurzen Einweisung durch die Ton-Crew und einer Besprechung des Stageplans mit den Kolleg*innen geht es auch schon los: Der Multicore wird vom FOH Richtung Bühne Stage Left verlegt (natürlich durch den Defender).
Auf der Bühne selbst machen wir eine Casestraße, damit wir eine Übersicht haben, was sich wo befindet…XLR, Soca, Mikroständer und vieles mehr, das ich selbst noch gar nicht kenne. Danach werden auch schon die Soca-Kabel an der Vorderkante der Bühne zur Stagebox verlegt. Kleine Info am Rande: Die Stagebox ist wie eine Blackbox beim Licht – mit mehreren Kanälen, meistens 16 In und 4 Return. Damit erspart man sich viele Kabelwege über die Bühne.
Als nächstes bauen wir das Monitorsystem für die Bands auf (das sind die schwarzen Boxen, die immer auf der Vorderkante der Bühne stehen). Da bekommt der*die Künstler*in den eingestellten Mix des*der Techniker*in heraus.
Mein Kollege erklärt mir, dass es sich heute um ein Standardset handelt. Das heißt links ein, in der Mitte zwei und rechts wieder ein Monitor. Dann bauen wir noch schnell das Drumfill auf: 1x Sub Bass, 1x Höhen auf ein Case und fertig.
Während wir das erledigen, bauen die anderen Bastards backstage die Riser auf: also kleine fahrbare Bühnen auf Rädern, damit der Umbau schneller funktioniert (meistens benutzen wir das für Schlagzeuge und/oder größere Instrumentengruppen). Dabei haben alle Riser unterschiedliche Höhen und sind mit Teppich, Skirting (die Stoffverkleidung) und Bremsen ausgestattet.
13:30: Die Zeit ist so schnell vergangen! Es ist schon wieder Mittagspause.
Nach der Pause schauen wir uns die Rider der vier Bands an, damit wir wissen, mit welchem Setup sie spielen. Dank der Bastards-Power können wir schon mit der Verkabelung der ersten Band starten und stellen sie auch gleich auf die Bühne, damit wir beim Change-Over (also die Zeit zwischen zwei Bands die wir für den Umbau haben) keine Zeit verlieren.
Der Plan zeigt uns, wo Mikrostative stehen und wie verkabelt wird. Zum Beispiel: 1SN, 2HH, 3BD, 4TH, 5TM ,6TD, 8 & 9 OH (die Abkürzungen stehen für die entsprechenden Positionen). Mit der Stagebox geht das ziemlich schnell. Sobald das Drumset fertig ist, geht‘s weiter zum Keyboard Riser. Da benötigen wir ein paar DI-Boxen (die wandeln das digitale Signal in ein analoges um). Gitarre und Bass sind noch einfacher: die bekommen nämlich 2 SM-57 Mikrofone vor die Box. Und dann brauchen wir noch zweimal Vocals in der Front und schon ist die Band bereit für den Soundcheck.
Währenddessen kümmern wir uns um die restlichen Riser. Dabei gehen wir wie gehabt vor: Plan, Stative, Stagebox, Kabel, usw. Nach kurzer Zeit sind wir gut eingespielt und kommen zügig voran.
Erster Change Over: Die Band auf der Bühne wird abgesteckt, rausgeschoben und die nächste wird bereits auf Position reingeschoben. Wir schließen alles an, richten es ein bisschen hübscher her, kleben die Kabel am Boden fest, vergessen das Skirting an den Risern nicht, bremsen diese noch ein… und schon gibt es den Line Check (= kurzer Test ob alle Signale am Pult ankommen).
Den Line Check übernehmen die Techniker*innen der Band, weshalb wir Zeit haben im Hintergrund wieder alles abzubauen bzw. wegzuräumen. Dazu gehört die Kabel und Mikros wegzupacken, die Stative abzubauen und alles inklusive Stagebox in die Cases zu packen. Dann warten wir auch schon auf den nächsten Change-Over.
18:30 Uhr: Der letzte Change-Over läuft und ich räume noch die Band davor weg.
19:00 Uhr: Mein CL checkt mich aus, weil sie die letzte Band auch alleine abbauen können. Das freut mich natürlich!
Heute war ein wirklich aufregender Tag. Ich habe viel gesehen und noch mehr gelernt.
Hoffentlich sehen wir uns bald wieder – vielleicht beim Rigging?